Install:

Installing Testimonials Showcase Plugin is as simple as installing any other WordPress Plugin. Our testimonial plugin comes in two different versions free and premium.

Via FTP:

  1. Upload the ‘super-testimonial-pro’ folder to your WordPress plugin directory ( /wp-content/plugins/ )
  2. Activate the plugin via your WordPress admin panel
  3. A new options tab with the name ‘Testimonials Pro‘ is created in WordPress admin where you can configure and create your testimonials!

Via WordPress Administration:

  1. In your WordPress Administration go to Plugins > Add New > Upload and upload the super-testimonial-pro.zip file of the plugin that you downloaded from Themepoints.
  2. Active the plugin.

Install Premium Version:

If you have already installed and activated the free version of super testimonial simply Deactivate or Delete the free version then Install the Premium Version. Don’t worry about losing your data. All the previous data are automatically back when you active the Premium Version. If you face any issues please don’t hesitate to contact us via the contact page.

Submission Form Usage:

When you activated the pro version of the Super Testimonial plugin you find a new menu under the Generate Shortcode called Frontend Submission. Simply use the testimonial submission shortcode anywhere on your site to display the submission form.

Manage Form Fields:

If you want to disable any field from the Submission Form go to Dashboard -> Testimonials Pro -> Frontend Submission and uncheck which field want to disable and click the Save Changes button.

Manage Form Error Massage:

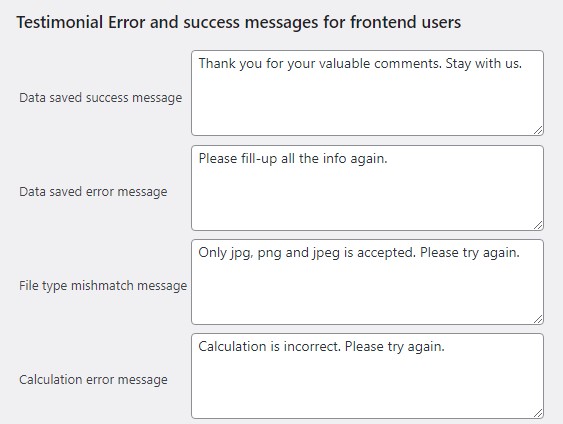
You can easily manage testimonial Errors and success messages for frontend users vis the Frontend Submission Settings Page.

Available Fields:

  1. Form Title
  2. Name/Title
  3. Designation
  4. Company Name
  5. Company URL
  6. Testimonial Rating
  7. Testimonial Message
  8. Select Categories
  9. User Image upload
  10. Select Post Status[‘draft’, ‘pending’, ‘publish’]
  11. Form Captcha